

Today we’re setting up the bee yard (apiary). Okay, apiary might be a bit of an overstatement, given that we’re putting one nuc into one hive. But this is the start of a bigger effort for us. We hope for beekeeping, and bee-related products, to be a key element in our homestead’s productivity.
I’ll start by saying that I over-engineered our apiary (big surprise). What I’ve done here is not in any way necessary to get good results with your bees. But I really wanted this to be an effective, efficient, low-maintenance place to put my first four or five hives. And I think I’ve succeeded.
Doing the Work to Establish Our Hive
I started by marking out the boundaries of the fence. Making the space 12 feet wide by 10 feet deep, I could put in the whole thing with a single 50 foot roll of fencing. I used a 2″ x 3″ woven fence. The primary hive predators in our area are skunks and the occasional bear. Will this fence stop them? Maybe. It’s more to make it less convenient. But I guess we’ll find out.
I established where I wanted my back line and marked my two back fence posts. Using the position of those posts, I used the 3-4-5 method of squaring the other two corner posts and the single gate post. From there I used a rototiller to break up the sod and bust up the soil. I did remove a little of the soil to lower the surface a bit in preparation for the geotex and the gravel. My forty year old rototiller broke down 6 feet into the first row, which turned into a project in itself. But a quick parts order and an afternoon in the shop, and we were back in business.
I dug the first two posts by hand, but thankfully my father took pity on me and brought his three-point post auger over for the last three. I have to say, the auger was by far the more pleasant of the two methods.
Once the posts were in and tamped, we did some light trenching for the perforated 4″ pvc pipe. A little gravel in the bottom of the trenches and the pipe went in un-glued. A couple more inches of gravel, and we were good to go. This doesn’t need to be as elaborate or robust as the french drain of a house. I’m just looking to re-direct some of the water that comes off the slight slope from the ridge to the apiary (about 50 feet).
We had a lot of geotex fabric left over from when we put in our road. And this seemed like a good time to use just a little of it. We put down a single layer of the fabric, and covered everything in a couple of inches of gravel.
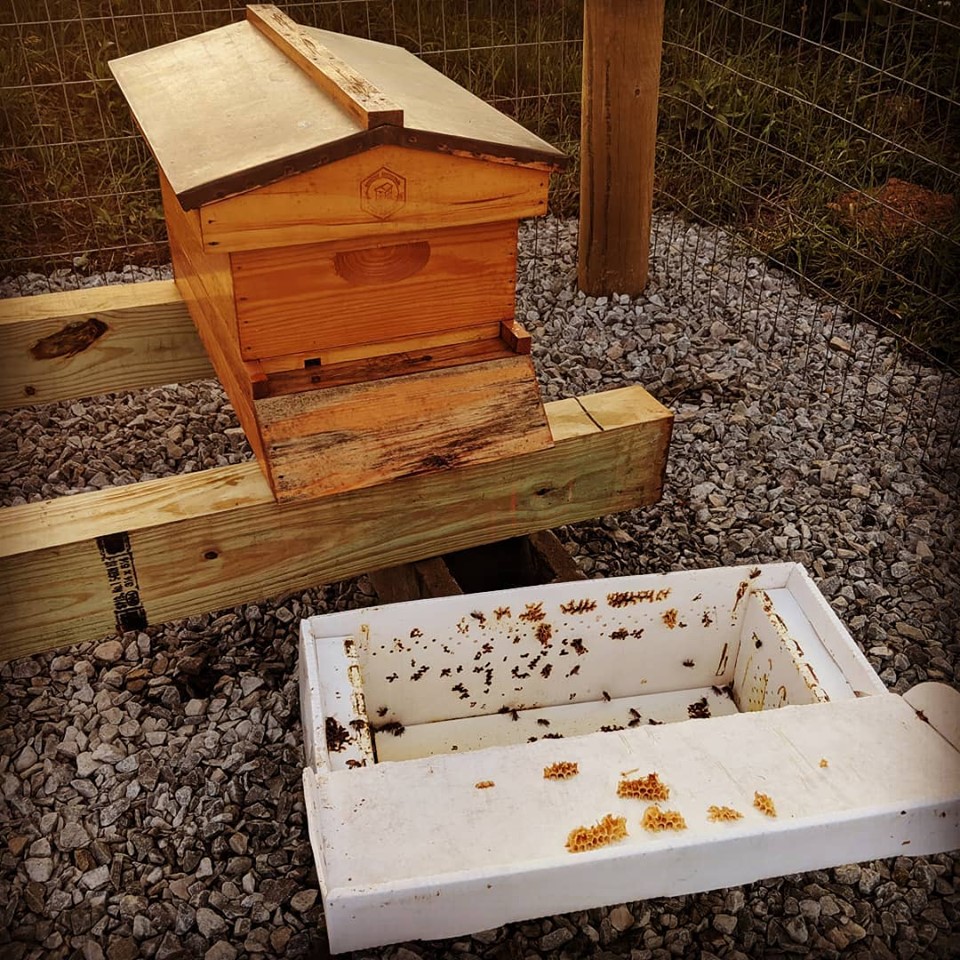
The only thing left to do at that point is to put in four cinder blocks, level them (leaving a slight slope to the downhill side to allow the hives to drain any water penetration), and lay two treated 4″ x 6″s across them to serve as my hive stand.
We’ll be installing our nuc tomorrow. So check back to see that process.