

If your vehicle is starting hard, sounds like it’s flooded, or just won’t run after filling up, chances are there’s a quick, easy fix. It will take only two minutes to diagnose the problem, and only five minutes, one tool, and less than $30.00 to repair.
If you car was manufactured in the last twenty years or so, the problem could be your evaporative purge valve. The evaporative purge valve (or just purge valve) is part of your vehicle’s evaporative emissions systems. If the valve fails and sticks open, it can cause some serious, but easily fixed problems.
| TOOLS NEEDED | 10mm socket, ratchet, and extension small scrap of paper |
| TIME TO COMPLETE | < 5 minutes |
| COST: | About $30 (as of Jan 2022) |
Common Symptoms:
– Difficulty starting after fueling
– Check Engine Light
– Poor fuel efficiency / mileage
We’re working on a 2017 Buick Escalade, and the descriptions and instructions below will relate to that vehicle. That said, if you’re relatively handy, you can probably find the valve and apply the general principles to your situation.
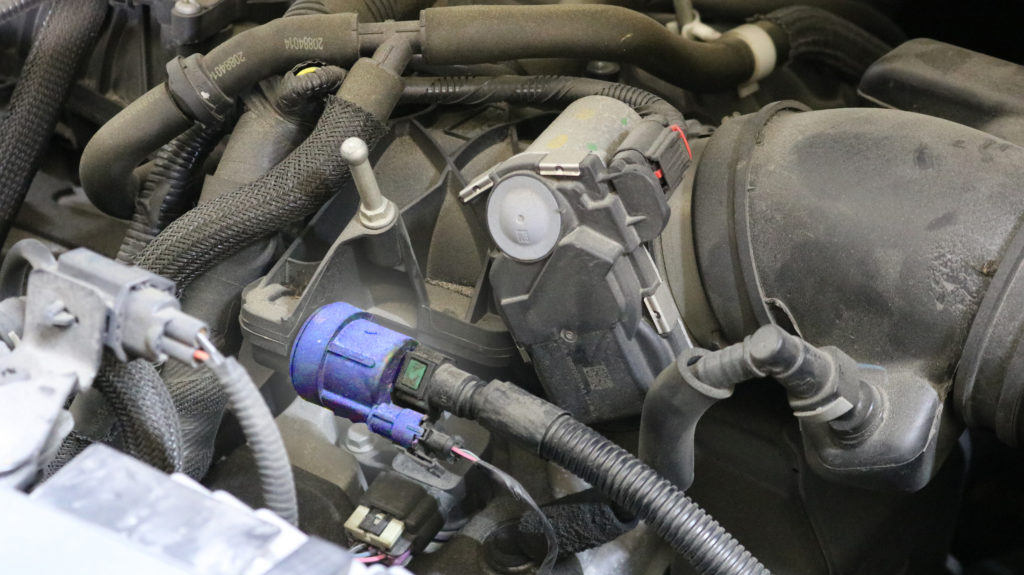
The purge valve is located under the engine cowl, to the right of the engine and behind the battery. It connects to the intake manifold (direct connection), the car’s computer (electrical connector), and to the emissions system (“air hose”).
To test the valve for a “failed open” condition the only tool you will need is a small piece of scrap paper. Remove the electrical connector and the air hose and start the car. Hold the scrap paper against the air hose inlet. If the valve is failed open, a vacuum will be created and hold the paper to the valve. That’s literally it. Yes, you can use a code tester, vacuum pump, and / or run battery power to get more information. But, if a vacuum is produced when the car is started, you’ve got a problem.
In the case of the Buick Escalade the valve is help onto the intake manifold with a 10mm bolt. Removing the bolt will allow you to wiggle and pull the defective valve from the manifold. Installing the new valve is as simple as aligning the bolt hold and wiggling the new valve into the manifold until it “pops” in. Reinstall the bolt and test again. No vacuum should be produced. If you get a vacuum, you have a different problem. A failed valve is the most likely culprit, but it is possible that you got a problem with one of the connectors, the computer, etc., etc. If changing the valve doesn’t fix the problem, you should be able to return the new valve for a refund and simply reinstall the old valve. At that point, you’re faced with a more difficult problem; to take on more complexity in diagnosis, or to just take it to the shop.
Hopefully this post helped you fix a serious, but easily fixed problem!